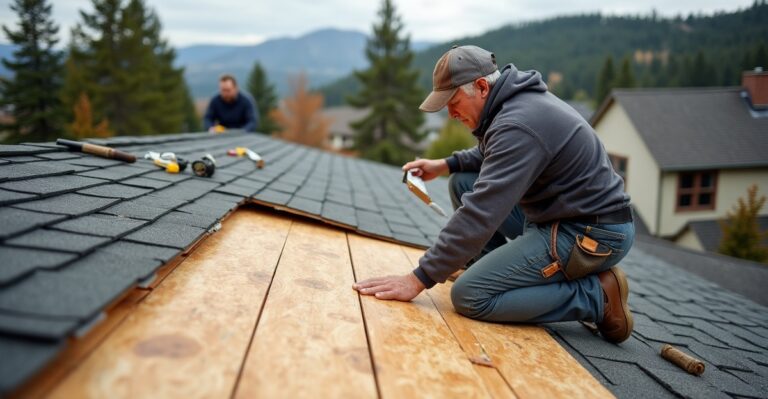
What Happens During a Complete Roof Tear-Off?
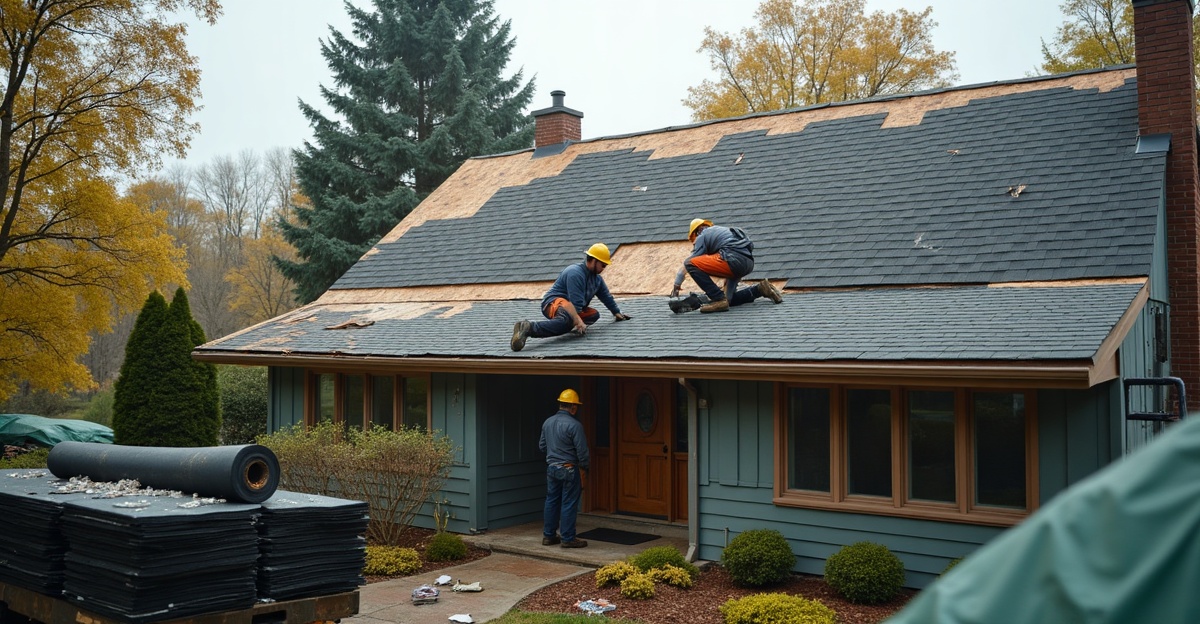
We remove existing shingles, underlayment, flashing, and related materials down to the roof deck. This process lets us inspect the structure below. After we approve and complete repairs, our crew installs the new roofing system, manages cleanup, and reviews the finished work with us.
Key Takeaways
- A complete tear-off helps us find visible deck damage, moisture issues, and failed flashing that may stay hidden before removal.
- We prepare the property by coordinating access, material delivery, debris disposal, and practical protection for nearby exterior features.
- We document damaged deck boards, explain the required repairs, and confirm clear pricing before work continues.
- We may install drip edge, ice-and-water protection, underlayment, flashing, ventilation materials, shingles, and ridge caps as part of the new roofing system.
- Project timing can vary based on roof size, pitch, existing layers, weather, site access, and required deck or flashing repairs.
What a Complete Tear-Off Reveals—and When It May Be Worth It
A roof tear-off removes existing shingles and related roofing materials down to the roof deck. This gives us a clear view of the structural wood surface beneath the roofing system and the components that protect it.
A complete roof replacement may be worth considering when a roof is near the end of its service life, has needed repeated repairs, shows widespread shingle deterioration, or has active leaks. Multiple existing roofing layers, suspected moisture concerns, and uncertainty about the decking can also make a tear-off the practical option. Our guide to roof replacement signs can help homeowners recognize common warning signals.
Removing old materials can reveal concealed problems, such as damaged decking or deteriorated flashing. It does not mean hidden damage will be found on every project. Instead, deck inspection is a practical benefit of a complete tear-off because it allows us to evaluate the roof’s condition before installing new materials.
Southwestern Idaho roofs face strong sun, wind, seasonal temperature swings, snow, and ice. Those conditions can affect material choices and installation details. We verify the home’s roof design, exposure, manufacturer requirements, and applicable local requirements before recommending a scope of work.
We don’t recommend diagnosing a roof from the ground, from photos alone, or from a remote estimate. A professional inspection and written estimate provide a clearer picture of whether roof repair or replacement makes sense.
Preparing Your Property, Household, and Work Area
Preparation starts before the crew arrives. We review the estimate, confirm the planned scope, discuss permits when applicable, coordinate material delivery, and identify access routes for workers and debris removal. Depending on the property layout, a trailer or dumpster may need space near the driveway or work area.
Our crew uses practical protection measures for landscaping, siding, windows, gutters, patios, and other exterior features where feasible. Protection methods vary based on site access, roof height, landscaping, and the space available around the home.
Homeowners can help the project run safely and efficiently by preparing the property before work begins. We recommend taking these steps:
- Move vehicles away from the driveway, garage, and work area. This gives the crew room to work and reduces the chance of debris reaching vehicles.
- Secure pets and plan activities for children. Roof removal is loud, and hammering can create noticeable vibrations inside the home.
- Remove or secure fragile wall décor. Pictures, mirrors, and other items can shift during construction vibrations.
- Cover attic belongings when appropriate. Removing old roofing materials can create dust near attic spaces.
- Move or cover outdoor furniture, grills, potted plants, and other items near the home when requested by the crew.
- Plan for temporary parking changes, limited driveway access, and construction noise during working hours.
Clear communication before work begins matters. We should identify the crew schedule, access needs, debris-containment approach, weather plan, and the best contact person for project questions.
Removing the Old Roof and Inspecting the Deck
The roof tear-off process begins with removal of the old shingles. We also remove underlayment, flashing, and other existing materials as needed to complete the approved scope. Crews collect debris throughout the project and place it in the designated disposal area.
The roof deck, also called decking, is the structural wood surface beneath the roofing materials. It supports the roofing system, and we can fully evaluate it only after the old materials are removed.
Once the deck is exposed, we inspect for soft spots, moisture damage, deteriorated wood, and visible areas of concern. We pay close attention to penetrations, valleys, chimneys, roof-to-wall transitions, vents, and other areas where water can enter if components fail.
If we find damaged or rotten deck boards, we document the condition and explain the recommended repair. When approval is needed, we discuss the related cost before proceeding. A detailed estimate may include an anticipated decking allowance or unit pricing for repairs that cannot be confirmed until tear-off is complete.
Every roof tear-off is different. The scope and timeline can change based on roof size, pitch, number of existing layers, material type, site access, weather, flashing details, ventilation work, and the condition of the decking. Our roof tear-off service focuses on clear documentation and communication from removal through installation.
Rebuilding the Roof System: More Than New Shingles
A complete roof replacement is not simply new shingles. It is a system of components that works together to manage water, weather exposure, and attic airflow. Roof removal allows us to inspect and update underlying roofing components as needed.
After deck repairs are complete, installation usually follows a logical sequence. We install drip edge, which is metal edging that helps direct water away from the roof edge and fascia. Ice-and-water protection may be installed where appropriate, especially where roof details or snow and ice conditions call for added protection.
Next, we install underlayment. This water-resistant layer sits between the deck and shingles. Flashing is then installed or replaced at vulnerable areas, including valleys, chimneys, walls, and vents. Proper flashing helps direct water away from joints and transitions.
Ventilation also deserves close attention. Intake and exhaust airflow can help manage heat and moisture in the attic. The finished system may include pipe boots, shingles or another selected roofing material, and ridge caps. For a closer look at these layers, review the main roof components that support a properly installed roof.
Material selections and installation details should fit the home, roof design, local weather exposure, manufacturer installation requirements, and applicable local requirements. Asphalt shingles remain a common option for Idaho homes, and our asphalt shingle guide explains key considerations for this material.
Cleanup, Final Walkthrough, and Realistic Timeline Expectations
Cleanup is part of the job, not an afterthought. We remove debris, clean the work area, perform magnetic nail sweeps, and check around the home, driveway, landscaping, and outdoor living spaces.
The final walkthrough should cover the completed work, visible roofing components, cleanup results, warranty information, maintenance guidance, and project documentation. We encourage homeowners to raise questions before the crew leaves so the completed scope is clear.
A straightforward residential roof may be completed quickly, but no two projects have the same timeline. Roof size, pitch, existing layers, material type, weather, site access, crew size, deck repairs, flashing complexity, and ventilation work can all affect scheduling.
Weather planning is especially important during a roof replacement. We communicate delays when conditions prevent safe or proper installation, and we protect exposed roof areas as conditions require. Before work begins, homeowners should ask what the plan is if rain is expected during the project. Our article on roof replacement timing offers additional seasonal planning guidance.
A detailed written estimate should clearly state the scope of removal, including whether all existing layers will be removed. It should also identify material selections, anticipated decking allowances or unit pricing when applicable, flashing and ventilation work, drip edge, pipe boots, disposal, cleanup, nail collection, permit responsibilities, change-order procedures, and workmanship and manufacturer warranty information. Homeowners comparing proposals may also find our overview of Idaho roof replacement costs helpful.
Complete Tear-Off vs. Reroofing: Questions to Ask Before Choosing a Contractor
A complete tear-off removes existing shingles and related materials down to the roof deck. This allows us to inspect the decking and replace underlying components as needed. Reroofing, also called an overlay, places new shingles over existing shingles.
An overlay may be suitable in some cases, but the decision depends on the number of existing layers, the roof’s condition, local code requirements, and manufacturer installation requirements. We review those factors during an inspection rather than assuming one approach fits every home.
Questions That Support a Clear Written Scope
Before choosing a contractor, homeowners should ask:
- Will all existing roofing layers be removed, or will new shingles be installed over the current roof?
- How will the crew protect landscaping, siding, windows, gutters, and outdoor living areas?
- How will the decking be inspected after old materials are removed?
- How are damaged deck boards documented, priced, and approved?
- Which underlayment, flashing, drip edge, ventilation, and pipe-boot components are included?
- Who handles disposal, cleanup, and nail collection?
- How will weather delays or unexpected repairs be communicated?
- Are permits required, and who confirms requirements with the local jurisdiction?
- What workmanship and manufacturer warranty information will be provided?
Building codes and permit requirements can vary by city and project scope. Homeowners in Boise, Meridian, Eagle, Kuna, Nampa, Caldwell, Middleton, Mountain Home, McCall, and nearby communities should confirm applicable requirements with the contractor and local jurisdiction.
If a roof tear-off is under consideration in southwestern Idaho, we recommend requesting an inspection and written estimate. Our roof replacement team can help clarify the roof’s condition, recommended scope, and available options.